To activate Google Authenticator in WordPress for the first time, follow the steps below.
- Access your WordPress dashboard by visiting the login URL provided in your login information email.
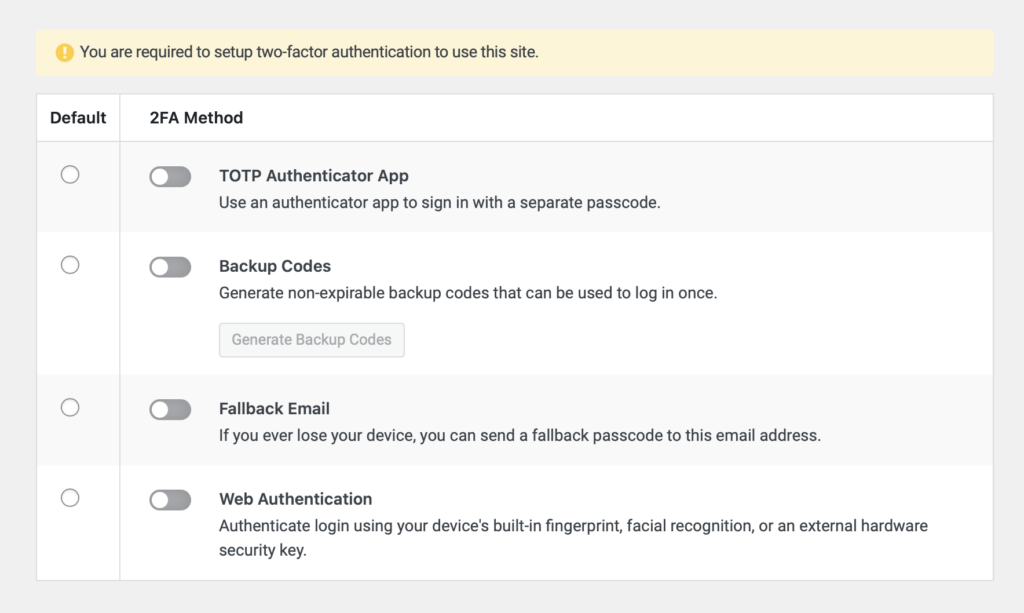
- Upon logging in for the first time, you will be prompted to set up Google Authenticator for added security on your account page in WordPress.
- Select TOTP Authenticator App as default and activate it.
- If you don’t have it already, download the Google Authenticator app on your smartphone from the App Store (for iOS) or Google Play Store (for Android).
- Open the Google Authenticator app and click on the (+) sign to add a new account.
- Choose “Scan a QR code” and use your smartphone camera to scan the QR code displayed on the WordPress setup page.
- Alternatively, if you’re unable to scan the QR code, you can manually enter the provided code into the Google Authenticator app.
- Once the QR code is scanned or the code is entered, the Google Authenticator app will generate a unique code.
- Enter the generated code into the WordPress setup page to verify and complete the setup process.
- After entering the code, click on the “Activate” or “Confirm” button to enable Google Authenticator for your WordPress account.
- Once activated, you will now be required to enter a code from the Google Authenticator app every time you log in to your WordPress dashboard for added security.
You are welcome to also activate one or more of the fallback options but always have the TOTP Authenticator App option as your default.